How-to · Images
How to convert WebP to JPG in Chrome
The short answer
Right-click the WebP image and choose Convert image to… → JPG, or drop the file into Image Converter's popup. Set the quality (85 by default), pick a fill color for any transparent areas — JPEG has no transparency — and the JPG downloads. Everything runs locally; nothing is uploaded.
- 1
Install Image Converter in Chrome or Edge.
- 2
Right-click the WebP image and choose “Convert image to…” → JPG — or open the popup and drop a saved file.
- 3
Set the quality slider (85 by default; lower it for smaller files).
- 4
If the image has transparent areas, pick the fill color under “Transparent background” — white by default, never black by accident.
- 5
Save the result — it downloads as name-converted.jpg, converted entirely on your machine.
WebP is what sites serve; JPG is what half the world's upload forms, CMSs and older tools still expect. Converting between them in Chrome takes one right-click with the Image Converter extension — and unlike converting WebP to PNG, going to JPG has two properties worth getting right: JPG is lossy, and it has no transparency. Both are one setting each.
Right-click the image, pick JPG
On any page, right-click the WebP and choose Convert image to… → JPG. The extension decodes and re-encodes the image on your machine and downloads it as name-converted.jpg. No tab switch, no upload site, no “your file is in the queue”. For a WebP already in your Downloads folder, open the popup instead and drop the file — same engine, same result.
Choose the quality deliberately
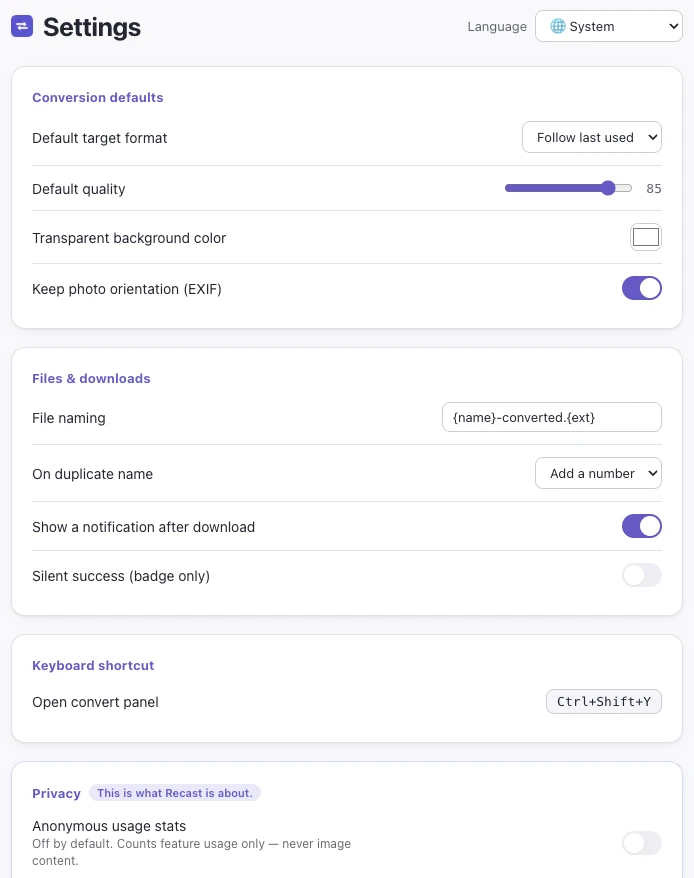
JPG is a lossy format, so the quality slider is the size dial. The default of 85 is a sensible middle: visually clean for photos while cutting the file size substantially. Push it higher for print-bound images; drop toward 70 when you're attaching screenshots to a ticket and only legibility matters. The last-used value sticks, and you can set your own default in Settings.
Decide what transparency becomes
JPEG has no alpha channel, so transparent areas have to become some color. Many converters silently turn them black — the classic ruined-logo look. Image Converter fills them with a matte color you choose (white by default): the popup has a Transparent background dropdown right under the quality slider, and Settings holds your default. If the WebP has no transparency, the setting simply never fires.
Keep photos the right way up
Phone photos often store their rotation as EXIF metadata rather than in the pixels. The Keep photo orientation (EXIF) toggle in Settings (on by default) makes sure a portrait photo comes out of the conversion upright instead of sideways.
Free, local, verifiable
WebP to JPG is part of the free tier — as are PNG and WebP targets — with no account and no upload: the conversion runs in your browser and works offline. Batch conversion of a whole folder and AVIF/JXL/PDF output are Pro features (one-time purchase), and are labeled as such in the menu rather than discovered at the end of a workflow.